Strawberry Cake
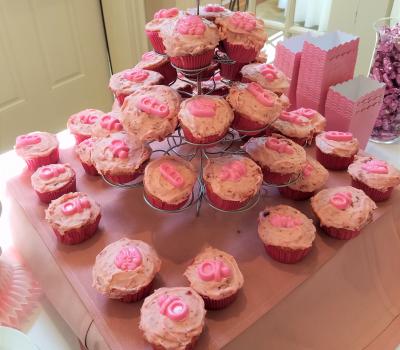
I had the good fortune to sit next to Nancy Rowe Pattinson at a baby shower for Chotsie Johnson (my Pawleys Island neighbor Lynda Dobson's beautiful daughter). Nancy made the strawberry cupcakes (pictured) for the shower because they are Chotsie's favorite - and now mine! She also made the (pink) chocolate candies on top. Nancy is a fun and amazing person - getting married for the first time at over 50. When I asked her what made her decide to marry now, she quipped, "I met the right one!" Inspiring! She also has an interesting career path which now includes baking the chocolate cake at the Aspen Grille in Myrtle Beach (http://aspen-grille.com/AspenGrille) When in town be sure to stop by and tell Nancy that Mary sent you. You won't be sorry!
Ingredients
Cake:1 Box White Cake Mix (Nancy only uses Duncan Hines)
1 small box strawberry jello
1 16 oz pkg Frozen strawberries (thawed & drained - save juice for cake, berries for frosting)
1 Cup Liquid - use berry juice and add water to make one cup of liquid
1 Cup Vegetable Oil
4 Eggs
3 Tbsp Flour
Frosting:
1 stick butter - softened
1 - 1.5 lbs Powdered Sugar
Drained Strawberries from above
Ust strawberries from above
March 2017
Instructions
Cake: Mix ingredients. Pour into four 9" pans sprayed with Pam with Flour. Bake at 325⁰ for 20 - 25 minutes. (If making cupcakes or other sized pans - use cooking times on cake box.)Frosting: Cream butter and 1 lb of sugar. Add strawberries and blend. Add additional powdered sugar until frosting is the desired consistency.
Per Real Simple: How To Frost a Layer Cake (http://www.realsimple.com/food-recipes/cooking-tips-techniques/baking/how-to-frost-a-cake)
FOLLOW THESE STEPS
1. Put a dab of frosting on the cake stand
Dab a couple tablespoons of frosting on the stand before putting down the first cake layer. This will prevent the cake from sliding.
Tip: If you don’t have a cake stand, turn a large, wide-bottomed mixing bowl upside down and place a plate on top of it. Frosting is easier when the cake is elevated and closer to eye level.
2. Place the first cake layer on the stand
Put the cake layer on top of the frosting right-side up so that the flat bottom sits on the stand.
Tip: Cool your cake layers upside down to help flatten them out, which will make your final cake much prettier and easier to assemble.
3. Put a few strips of parchment paper under your cake
Tuck overlapping pieces of parchment paper under the edge of the cake; this will help keep your stand clean as you frost.
4. Start with 1 to 1½ cups of frosting
Using an offset spatula, put a big dollop of frosting—about 1 to 1½ cups—on top of the bottom layer.
5. Spread the frosting just beyond the edge of your cake
Using the spatula, start in the middle of the cake and spread the frosting evenly over the top and just past the edge of the top surface. The overhang of frosting will help you frost the sides of the cake.
6. Place the second layer top-side down
Place the second cake layer on top and press gently to make sure it sticks. Take a step back and check that it is level and centered.
7. Use 1 to 1½ cups of frosting for the second layer
Put a big dollop of frosting on the center of the cake and, using the offset spatula, spread it to the edges. If you get crumbs in the frosting, simply scrape the dirty frosting off your spatula into a separate bowl.
Tip: Be generous when you start to frost. You can always scrape some off if you end up with too much, but if you start with too little, you risk pulling crumbs from the cake into the frosting.
8. Frost the sides in sections
Think of the cake in quarters and tackle one quarter at a time, turning the cake stand as you go. Aim to get the cake covered with frosting first.
9. Smooth out the frosting or create any look you like
Once the cake is frosted, you can go back and beautify. Smooth out the frosting or create swirls or other textures. Remove any excess frosting. Gently pull away the strips of parchment paper to reveal your beautifully frosted cake.